Detecting VPN users in a Node.js application is useful when you need to reduce fraud, limit automated abuse, protect signups, or add extra verification for suspicious traffic.
A VPN is not automatically malicious. Many legitimate users rely on VPNs for privacy, remote work, or public Wi-Fi protection. The goal is not always to block every VPN user. In most applications, the better approach is to identify higher-risk connections and decide what to do based on context.
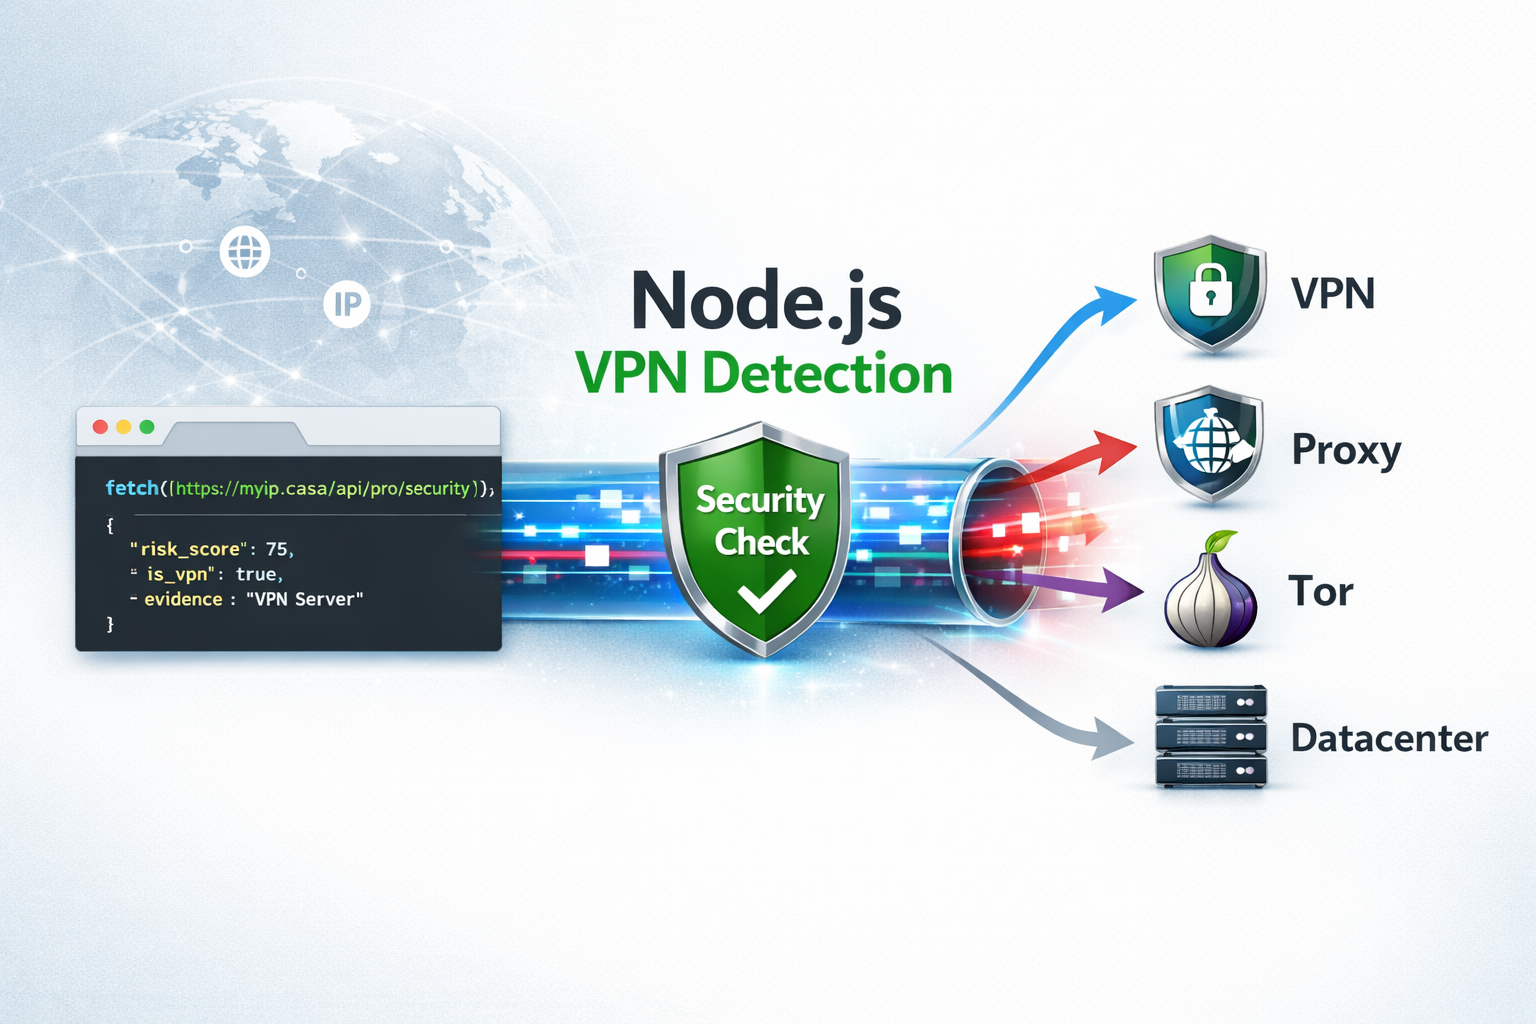
With the MyIP.casa Pro API, your backend can check an IP address and receive security signals such as VPN, proxy, Tor, datacenter classification, risk score, and evidence explaining why the IP was flagged.
Check your current connection first
Before integrating the API, you can manually test your own connection with the free VPN check tool.
Open the VPN Check Tool →Why Detect VPN Users in Node.js?
Node.js is commonly used for APIs, SaaS platforms, dashboards, login systems, signup flows, and backend services. These are also common targets for abuse.
VPN and proxy detection can help you identify traffic patterns that deserve closer attention, especially when combined with other signals such as account age, failed login attempts, payment behavior, request rate, or geolocation mismatch.
Common use cases include:
- Signup protection: add friction when new accounts are created from suspicious IP ranges.
- Fraud prevention: review risky payments or account activity before allowing sensitive actions.
- Bot filtering: combine IP intelligence with rate limiting and user-agent checks.
- Abuse prevention: detect repeated activity from hosting providers, proxies, or anonymized networks.
- Geo-risk analysis: compare claimed user location with IP-based network signals.
Why Use the MyIP.casa API?
Basic IP geolocation can tell you an approximate country, region, city, ISP, or ASN. That is useful, but it is not enough when you need to understand whether a connection is coming from a residential network, a VPN provider, a proxy, Tor, or a datacenter.
The MyIP.casa Pro API is designed for developers who need IP intelligence data directly inside their backend logic.
The /api/pro/security endpoint provides:
- Risk scoring: a
risk_scorevalue that can help you decide whether to allow, review, challenge, or block a request. - Evidence: human-readable reasons explaining why an IP was flagged.
- Security flags: detection signals for VPN, proxy, Tor, and datacenter usage.
- Developer-friendly JSON: simple responses that can be used directly in application logic.
Step 1: Get the User IP Address in Node.js
Before calling the API, your backend needs the IP address you want to analyze. In a simple Node.js or Express setup, you may receive it from the request object.
If your application runs behind a reverse proxy, load balancer, CDN, or Nginx, make sure your app is configured to read the correct client IP. Otherwise, you may end up checking your proxy IP instead of the real visitor IP.
// Example with Express
app.get('/login', async (req, res) => {
    const ipAddress = req.ip;

    // Use this IP address with your security check
    console.log('Visitor IP:', ipAddress);

    res.send('Login page');
});
Important: IP forwarding headers such as X-Forwarded-For must only be trusted when they come from your own reverse proxy or infrastructure. Do not blindly trust client-provided headers.
Step 2: Call the MyIP.casa Security Endpoint
The most efficient way to check an IP in modern Node.js is to use the native fetch API, available by default in Node.js 18 and newer.
This example calls the /api/pro/security endpoint and sends your API key using the X-API-Key header.
const MYIP_API_KEY = 'YOUR_PRO_API_KEY';

async function getIPIntelligence(ipAddress) {
    const url = `https://myip.casa/api/pro/security?ip=${ipAddress}`;

    try {
        const response = await fetch(url, {
            headers: { 'X-API-Key': MYIP_API_KEY }
        });

        if (!response.ok) throw new Error('API Request Failed');

        return await response.json();
    } catch (error) {
        console.error('Security Check Error:', error);
        return null;
    }
}
Need an API key?
The free tools are useful for manual checks. For backend automation, monitoring, fraud prevention or production workflows, use the MyIP.casa developer API.
View API Documentation →Step 3: Apply Risk-Based Logic
The API returns a risk_score at the root level. Instead of treating every VPN user the same way, you can apply different actions depending on the score and the context of the request.
A common strategy is to use thresholds:
- Score below 30: allow the request normally.
- Score between 30 and 70: add friction, require MFA, rate-limit, or flag for review.
- Score above 70: block, challenge, or send the event to manual review.
const data = await getIPIntelligence('198.51.100.42');

if (data && data.risk_score > 75) {
    console.warn(`High Risk detected! Reason: ${data.security.evidence.join(', ')}`);
    // Example: redirect to an "Access Denied" page
}

if (data?.security.is_vpn) {
    console.log("User is using a VPN.");
}
The exact thresholds depend on your product. A banking application, a public forum, a SaaS dashboard, and a newsletter signup form should not necessarily apply the same rules.
Step 4: Use Evidence for Better Decisions
One of the most useful parts of the MyIP.casa API response is the evidence array. It helps your application understand why an IP was considered risky instead of relying only on a numeric score.
Example evidence:
["DataCenter/VPN IP address", "Automated traffic from hosting network"]
This is useful for logs, admin dashboards, support teams, and internal security reviews. For example, you may decide to treat a datacenter IP differently from a known VPN exit node or a Tor connection.
Step 5: Integrate VPN Detection in an Express Middleware
In production, you usually do not want to copy the same IP detection logic across every route. A better approach is to create middleware that checks the visitor IP and attaches the security result to the request.
async function ipSecurityMiddleware(req, res, next) {
    const ipAddress = req.ip;

    const intelligence = await getIPIntelligence(ipAddress);

    if (!intelligence) {
        // Fail open or fail closed depending on your application
        return next();
    }

    req.ipIntelligence = intelligence;

    if (intelligence.risk_score > 75) {
        return res.status(403).json({
            error: 'Access denied',
            reason: 'High-risk IP address'
        });
    }

    next();
}

app.use(ipSecurityMiddleware);
For sensitive routes, such as login, checkout, password reset, API key generation, or account creation, you can apply stricter logic.
app.post('/signup', async (req, res) => {
    const riskScore = req.ipIntelligence?.risk_score || 0;
    const isVpn = req.ipIntelligence?.security?.is_vpn;

    if (riskScore > 50 || isVpn) {
        return res.status(202).json({
            status: 'review_required',
            message: 'Additional verification is required.'
        });
    }

    res.json({ status: 'signup_allowed' });
});
Step 6: Cache Results to Reduce Latency
IP intelligence checks are usually good candidates for short-term caching. If the same IP address makes multiple requests within a short period, you do not need to call the API every time.
A practical approach is to cache results for a few hours or up to 24 hours, depending on your risk tolerance and traffic volume.
- Lower latency: fewer external API calls during repeat requests.
- Better quota management: avoid checking the same IP repeatedly.
- More stable decisions: keep consistent behavior during the same user session.
const cache = new Map();

async function getCachedIPIntelligence(ipAddress) {
    const cached = cache.get(ipAddress);
    const now = Date.now();

    if (cached && cached.expiresAt > now) {
        return cached.data;
    }

    const data = await getIPIntelligence(ipAddress);

    if (data) {
        cache.set(ipAddress, {
            data,
            expiresAt: now + 24 * 60 * 60 * 1000 // 24 hours
        });
    }

    return data;
}
For larger applications, use Redis, Memcached, or your existing caching layer instead of an in-memory Map.
Best Practices for VPN Detection
VPN detection should be part of a broader risk-based security model. It should not be your only signal.
- Do not block every VPN automatically: some legitimate users rely on VPNs for privacy or work.
- Use risk thresholds: combine
risk_score, evidence, account behavior, and request patterns. - Log the reason: store the evidence array when you take action.
- Add friction before blocking: MFA, email verification, CAPTCHA, or manual review may be better than hard blocking.
- Cache responses: avoid unnecessary repeated checks for the same IP.
- Protect API keys: never expose your Pro API key in frontend JavaScript.
Build IP intelligence into your backend
Use MyIP.casa to detect VPNs, proxies, Tor, datacenter IPs and suspicious network signals from your server-side application.
View API Plans →When Should You Block a VPN User?
Blocking is not always the right first action. For many products, a VPN connection should increase risk, not automatically cause rejection.
For example, a user reading public content through a VPN may not be a problem. But a new account created through a VPN, from a datacenter ASN, followed by rapid requests or payment attempts, may deserve stronger controls.
A good model is:
- Detect the IP type and risk score.
- Check the action being performed.
- Look at account and session behavior.
- Apply a proportional response.
This gives you more flexibility than a simple allow/block rule.
Free Tool vs API
The free VPN Check tool is designed for manual testing. It lets users check whether their current IP address is detected as a VPN.
The API is designed for applications. It lets your backend check any IP address and use the result in code, logs, dashboards, fraud systems, abuse prevention workflows, or access-control decisions.
- Use the free tool when you want to check your own connection manually.
- Use the API when you need automated VPN, proxy, Tor, datacenter and risk detection in your product.
FAQ
Can I detect VPN users in Node.js?
Yes. In Node.js, you can send the visitor IP address to an IP intelligence API and use the returned VPN, proxy, Tor, datacenter and risk signals in your backend logic.
Should I block all VPN users?
Not always. Many legitimate users use VPNs for privacy or work. A better approach is to use VPN detection as one risk signal and apply proportional actions such as MFA, rate limiting, review, or blocking depending on the context.
Where should I store my API key?
Store your API key on the server side, preferably in an environment variable or secret manager. Never expose your Pro API key in frontend JavaScript.
Does this work with IPv6?
Yes. The MyIP.casa API supports both IPv4 and IPv6 addresses without requiring a different integration flow.
How do I handle API quota?
You can reduce repeated calls by caching IP intelligence results for a reasonable period, such as a few hours or up to 24 hours depending on your use case.
Can I use this with Express middleware?
Yes. Express middleware is a practical way to run IP intelligence checks before sensitive routes such as login, signup, checkout, password reset, or API access.